
What Is WHM?
WebHost Manager (WHM) is a server administration interface used to manage VPS and other distributed servers. It is used to perform a wide variety of server management tasks, including the administration of cPanel accounts.
To work with WHM, ensure you have the WHM URL, username, and password that was sent to you when you first signed up for your VPS or Reseller hosting service. Note that WHM access is not available on shared web hosting accounts.
Difference between cPanel and WHM
In WHM, you can
- create individual accounts
- create custom hosting packages
- add domains to the server
- manage features of hosting packages and accounts
- reset passwords/contact email addresses for cPanel accounts
- edit Resource Limits for cPanel accounts
- modify DNS zone records for each domain/subdomain
- set up private nameservers on the server
- access resold accounts without entering login details
- perform basic system and control panel maintenance
cPanel is designed for managing separate hosting accounts on the server. End users/clients are able to:

- install CMS using Softaculous
- upload and manage files for their websites
- add/remove addon domains and subdomains
- create email accounts and manage email settings and SPAM protection
- edit DNS records for their domains
- check website statistics
- manage databases and backups, etc.
Create a new hosting package
Before you can create a new WHM account, you must first create a new hosting package to be associated with the account. New accounts are not permitted in WHM without an associated package.
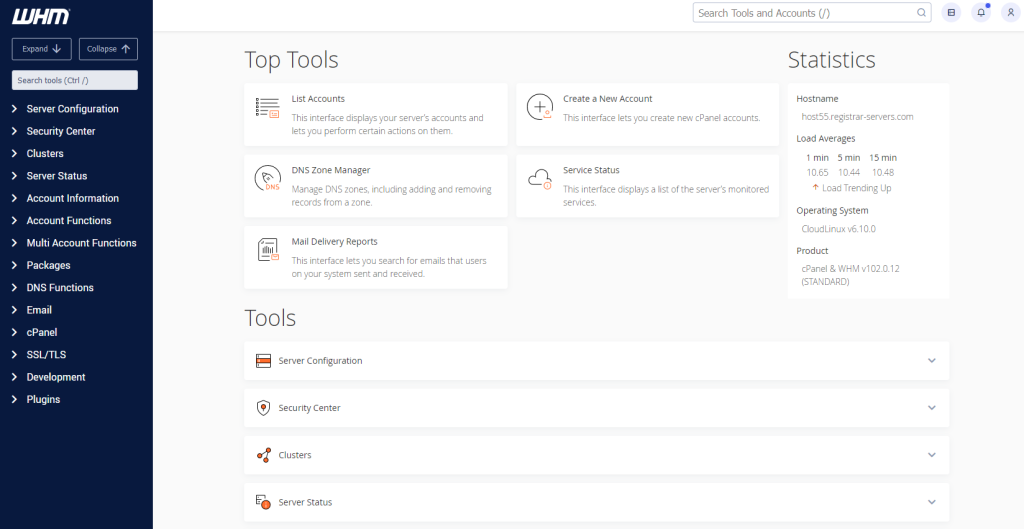
First, log in to the WHM dashboard with your administrator user name and password. The URL uses your VPS or reseller server IP address with port 2087. It should look something like this: https://xxx.xxx.xxx.xxx:2087.
In the WHM dashboard, enter the word “package” in the search bar to locate the Packages tools. Click
Add a Package.

In the Add a Package page, provide a Package Name and set any account limitations and cPanel features desired before clicking Add.

You’ll see a Success message at the bottom right corner of the browser window.
Create a new account
With the hosting package created, you can proceed to account creation. In the WHM search box, enter “create” and click Create a New Account, which will appear under Account Functions.

On the Create a New Account page, complete the required account details, including Domain Information, Package selection and Settings. The form verifies your entries as you type – look for a green checkmark next to each box as you proceed through the form. If a red X appears, check your entry.

In DNS Settings, we recommend that you enable both DKIM and SPF features on new accounts to increase the reputation and reliability of emails sent from them.
Be sure to also check the Use the nameservers specified at the Domain’s Registrar option. If unchecked, the account’s DNS Zone will be created with default nameserver values specified in WHM > Basic cPanel & WHM Setup. Depending on your configuration, this may be acceptable, however, checking the box will ensure the DNS Zone is created with the selected domain’s nameserver values. Make sure you have correctly pointed your domain to the nameservers before proceeding.
Under Mail Routing settings, the default option is to send email through the same server on which the account is hosted. Local Mail Exchanger should be checked. If you wish to route email via an alternative server, use the Backup Mail Exchanger or Remote Mail Exchanger options.

When you’ve completed the account details, click Create to proceed with setup. You’ll see a number of status updates appear on screen as the account is set up, then a message confirming Account Creation Complete. If you receive any errors during setup, re-check the account details.

Verify the new account
After the account has been created, you can verify it by entering “list” in the WHM search box and selecting List Accounts, under Account Information.

Your accounts will be listed. Use the [+] button to make changes to an account, or click the cPanel icon to access cPanel using the account.
